
- Reviews
- Questions
Thank you for submitting a review!
Your input is very much appreciated. Share it with your friends so they can enjoy it too!
Great tutorial
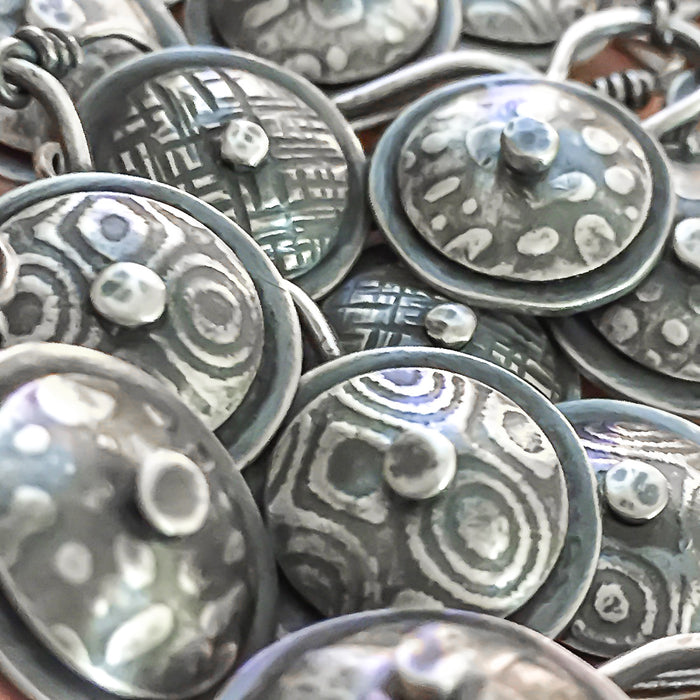
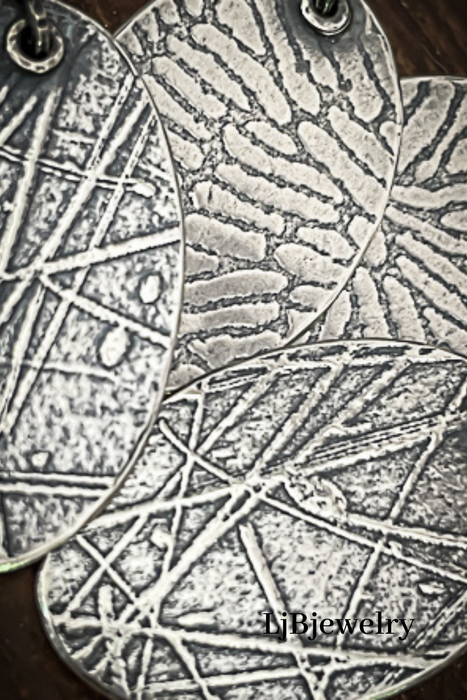
Another wonderful tutorial by Laura! She is such a talented teacher and her class is so creative! I highly recommend it for those looking for unusual stylish textures!
LjBjewelry
Thank you!!
Texturing
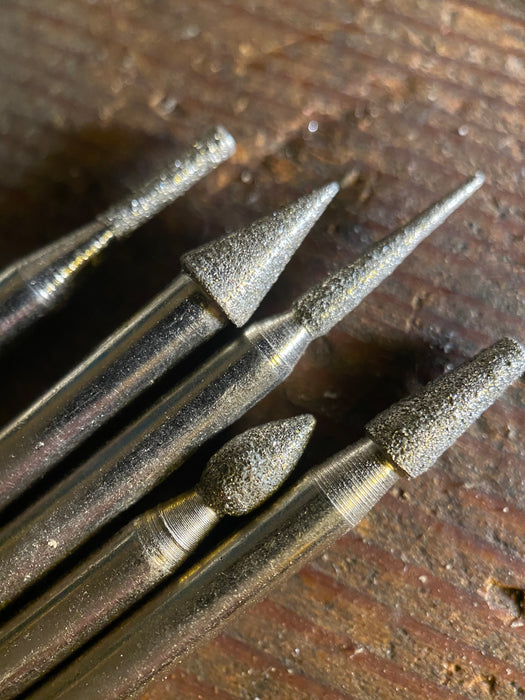
Great video. Like to see you don't always need expensive tools to make a great product.
LjBjewelry
Thank You!!
Texturing Video
Fantastic tutorial. To the point, easy to understand and excellent ideas and information. Thank you!!
LjBjewelry
Thank You!!
Inspiring!
Wonderful video with clear, concise explanations, good visuals and lots of ideas to explore. Well worth the purchase.
LjBjewelry
Thank you!!
Texturing metal
Wonderful. Very clair and didactic. An inspiration. Thanks
LjBjewelry
Thank You!!!
This tutorial is definitely one to purchase if you are interested in texturing your metal. Loads of ideas and information.
Just brilliant thank you
Great tutorial easy to follow and apply techniques Thank you
Really helpful video I will definitely be buying more.
Thank you for your help .
Another wonderful tutorial by Laura! She is such a talented teacher and her class is so creative! I highly recommend it for those looking for unusual stylish textures!
Thank you!!
Great video. Like to see you don't always need expensive tools to make a great product.
Thank You!!
